
Method
For the Cookie Cake
Heat oven to 180°C (gas mark 4). Grease and line a 8″ circle baking tin (I use a springform one which makes it super easy to remove the cookie cake!). Chop the milkybar in to approx 1/2 inch pieces, or if you’re using milkybar buttons break the buttons in to halves.
Beat the stork/butter until soft, then add the sugar and cream together until light and fluffy.
Stir in the golden syrup, self raising flour, cornflour, and milkybar (chopped bar or broken buttons!).
Add 1 tablespoon of milk as required to loosen the mixture.
Spoon in to the baking tin and make sure the mixture is fairly even across the tin (no need to be too precise here, we just want the cookie to be as even as possible once cooked!)
Bake for 18-20 minutes in the middle of the oven until the cookie cake has just started to go golden
Allow the cookie cake to cool fully in the tin before removing (attempting to remove it prematurely may cause the cookie cake to break!)
While waiting for the cookie cake to cool make the buttercream!
For the Buttercream and Decoration
Melt the 150g of milkbar chocolate in a heatproof bowl over boiling water and set aside to cool slightly.
Beat room temperature butter for a couple of minutes using a hand or stand mixure until the butter has softened and turned very pale, almost white in colour.
Add in the icing sugar, and beat till smooth and the mixture has softened.
Add the melted milkybar chocolate and beat for another couple of minutes. Add 1-3 tablespoons of boiling water if the mixture is too firm to loosen it up. Be careful, don’t add too much – a little goes a long way!
Add pink food colouring (a small amount at a time) and mix with a spatula or spoon until the desired pastel pink colour has been reached
Use a spatula to add the buttercream to a large piping bag with a 2D Closed Star Piping tip.
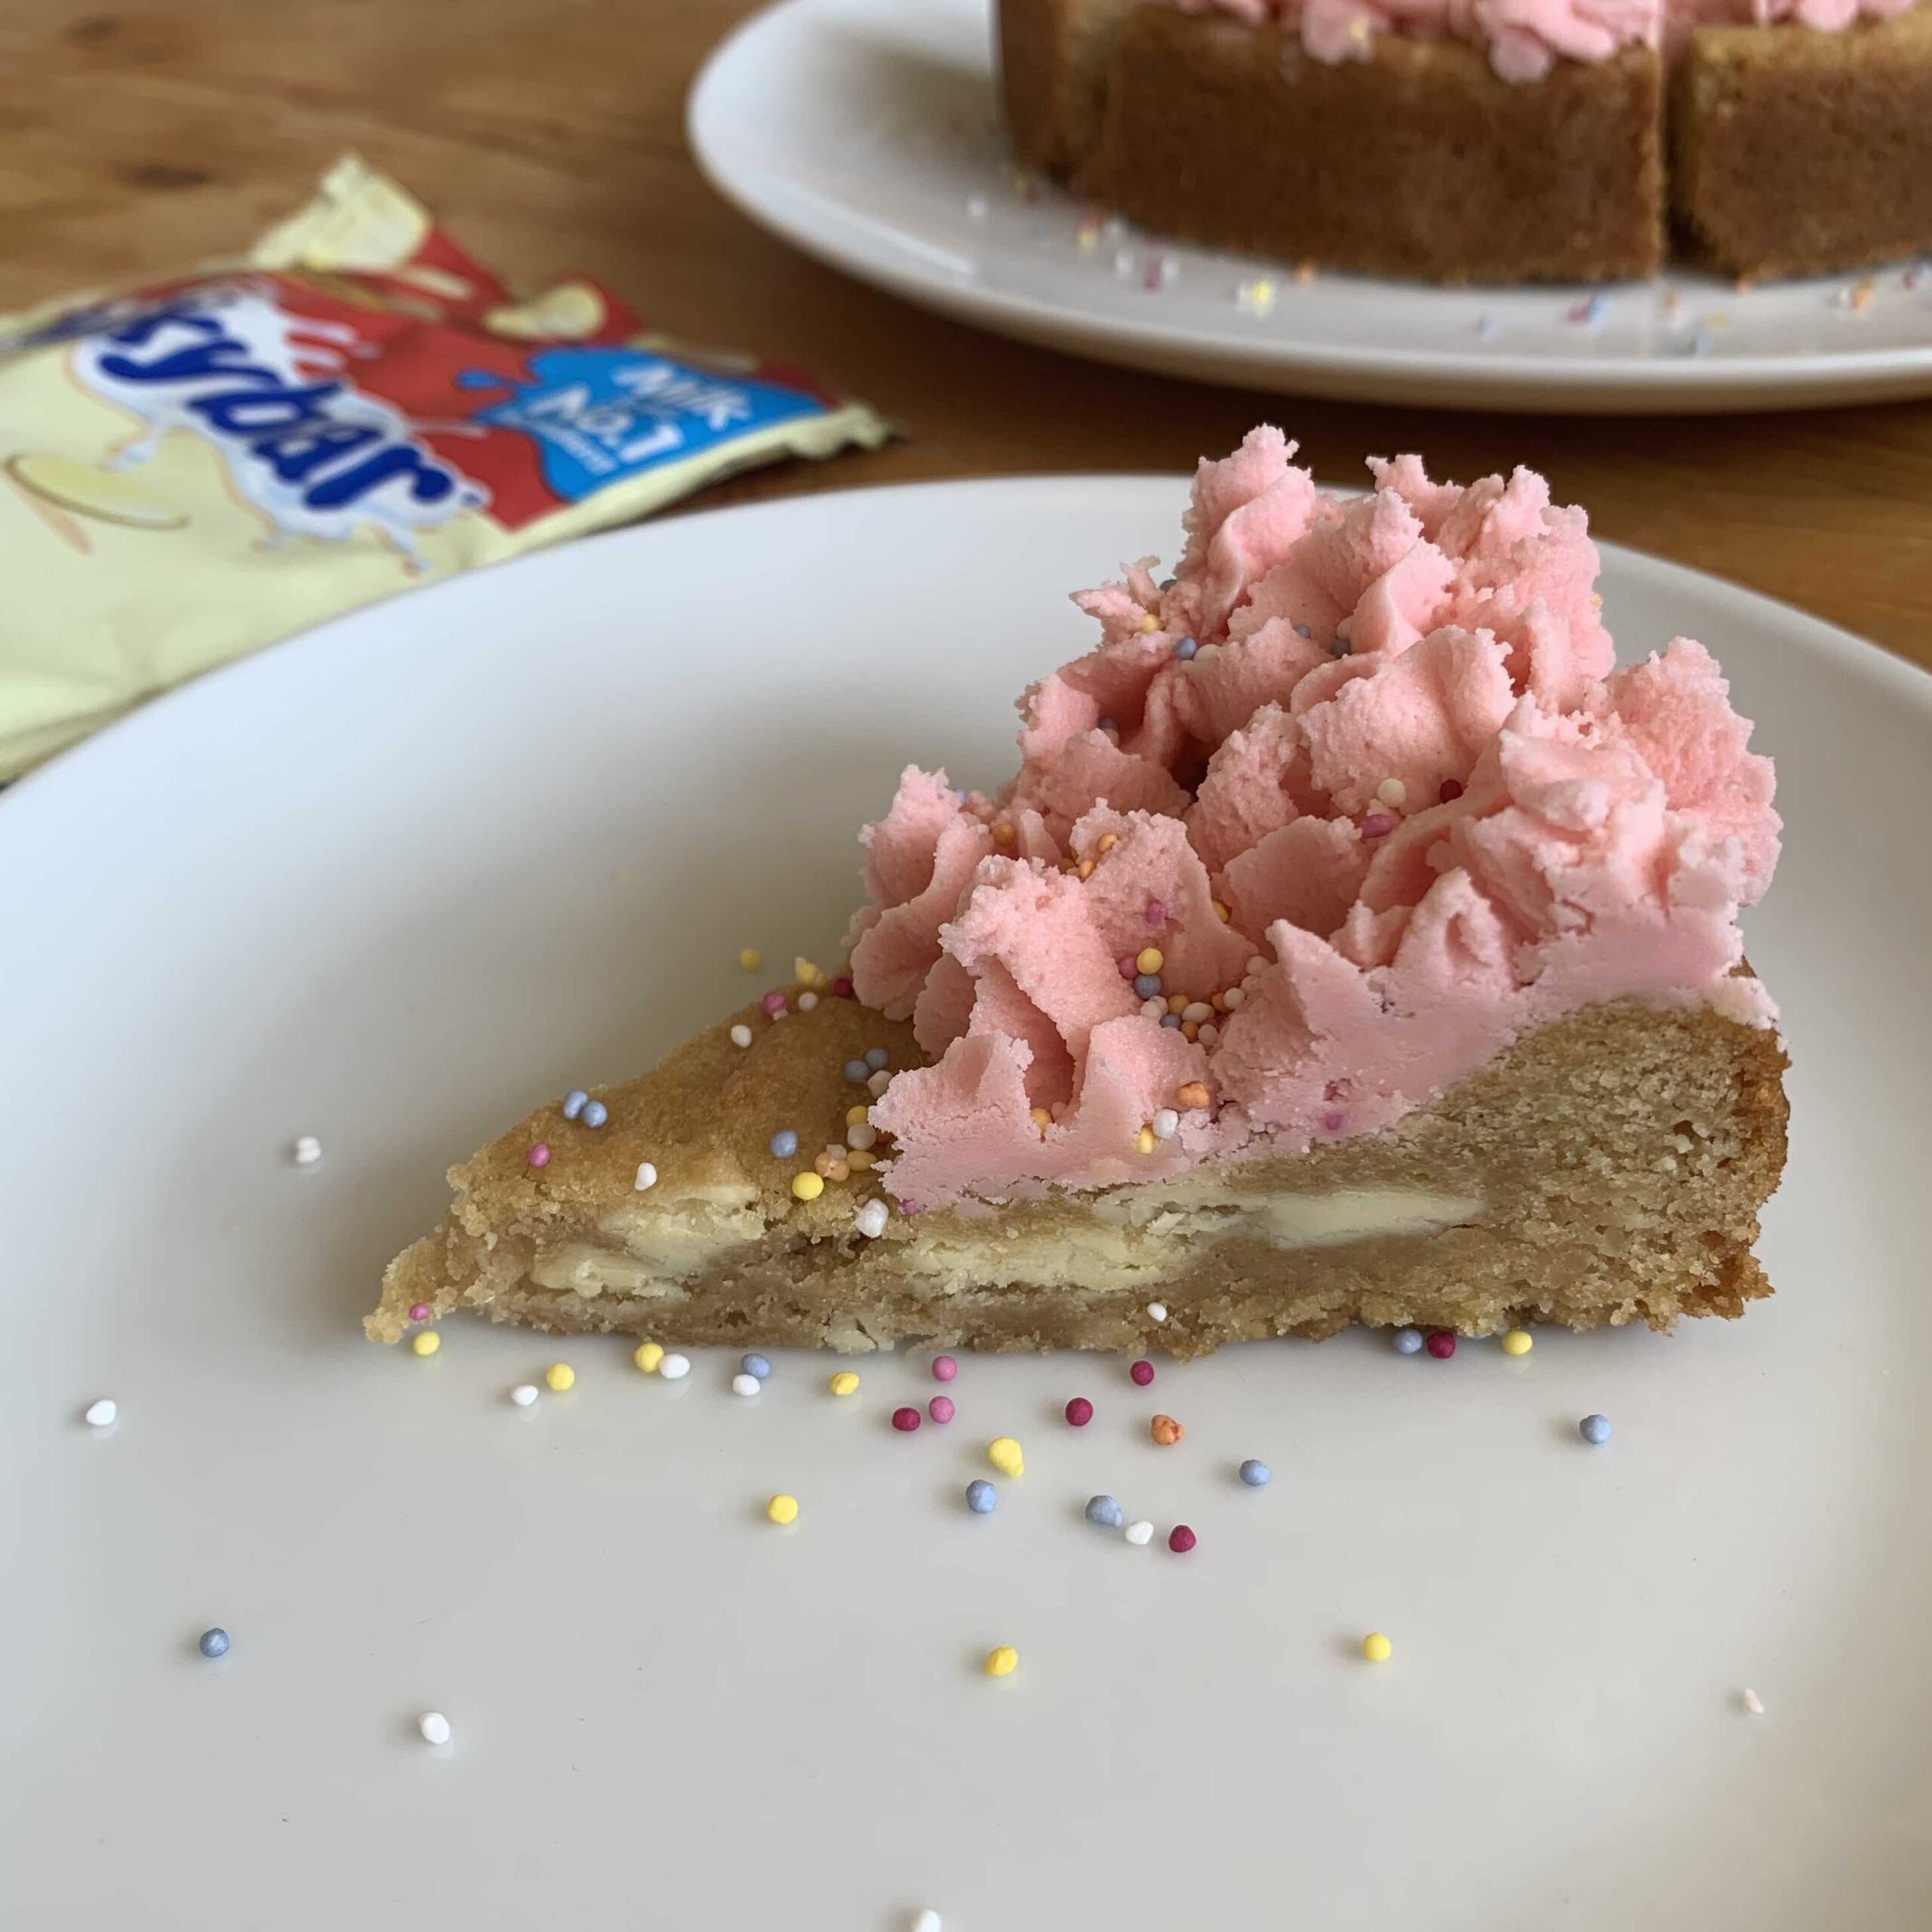
Pipe buttercream stars on top of the cookie cake (I did three circles!). Finish with a generous sprinkle of 100s and 1000s / rainbow sprinkles for decoration! 🙂
Notes
read more on next page
