
-
The second book fold is essentially a repeat of the first one.
-
On a lightly floured surface, position the pastry so that the two “open ends” point towards and away from you.
-
Gently press down on the pastry with the rolling pin at regular intervals along the length of the dough. Then, roll it out into an approximately 8×22 inch (20x55cm) rectangle. Make sure that the pastry doesn’t stick to the surface. .
-
Fold both ends of the pastry rectangle towards the middle, so that they meet in the centre. Then fold the resulting rectangle in half.
-
Wrap the pastry in cling film and chill it in the fridge for 20-30 minutes.
Assembling and proofing the gluten free pain aux raisins:
-
While the pastry is chilling, in a small bowl, pour boiling hot water over the sultanas or raisins until completely covered. Set aside for about 10 minutes, until the sultanas/raisins have plumped up and re-hydrated.
-

Drain the water, making sure to squeeze out any excess water from the sultanas/raisins. Set aside until needed.
-
Line two large baking sheets with baking/greaseproof paper.
-
Roll out the chilled pastry until it’s slightly larger than 10×16 inch (25x40cm), then trim it down to a 10×16 inch (25x40cm) rectangle. It should be about ⅓ inch (8mm) thick.
-
Briefly whisk the cooled vanilla pastry cream until it’s smooth, then dollop it on top of the rolled-out pastry. Using a small offset spatula, smooth it out into an even layer all the way to the edges.
-
Sprinkle evenly with the re-hydrated sultanas or raisins.
-
With the pastry positioned so that that the shorter side is closest to you, roll the pastry towards you. You will end up with an approximately 10 inch (25cm) long log. You can use the baking paper to help you with rolling, if needed.
Tip: If the pastry feels too warm or too soft at this point, chill it in the fridge for 20-30 minutes before proceeding with the next step.
-
Use baker’s thread or unflavoured dental floss to slice the log into the individual pastries, each about 1 inch (2.5cm) thick. Fold the end of the swirl of each pastry underneath the pastry (see blog post for photos) – this prevents the end of the pastry from unfurling during baking.
Tip: Much like with cinnamon rolls, using baker’s thread or floss preserves the shape of the pastries and ensures that you’ll get the most beautiful swirl. (Using a knife, on the other hand, would likely squash the pastry.)
-
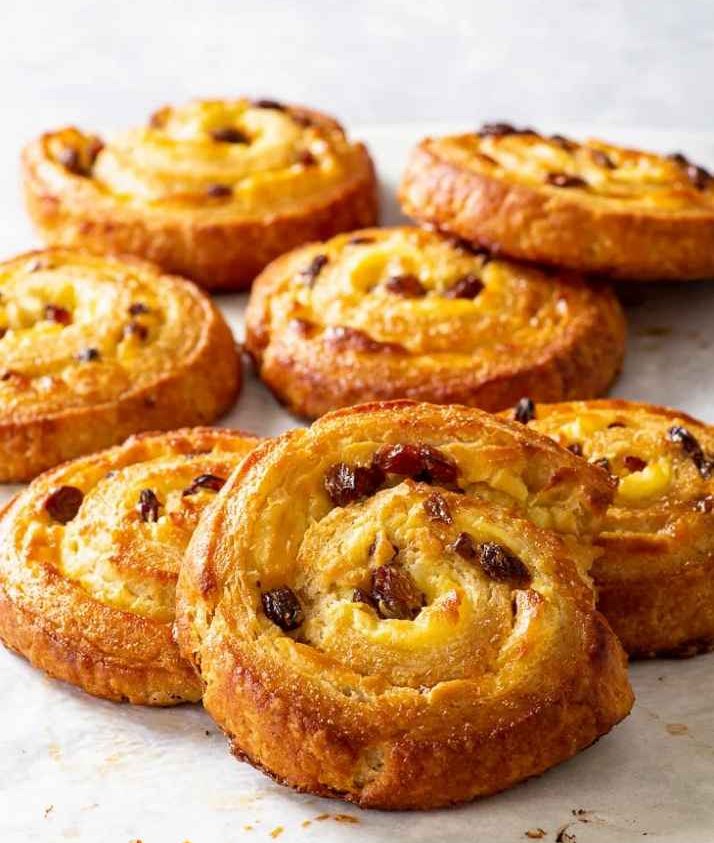
Place the individual Danish pastries onto the lined baking sheets, spacing them out so as to allow for their expansion during proofing and baking. This recipe makes 10 pastries in total, I like to bake them 5 per baking sheet. Ideally, allow at least 2 inches (5cm) between the pastries.
-
Cover them lightly with cling film and allow to proof in a warm spot for about 2 hours or until lightly puffed up. The pastries won’t double in volume – see blog post for photos.
Baking the gluten free pain aux raisins:
To continue reading, scroll down and click Next 👇👇👇
