Crisco Pie Crust Recipe: Flaky, Tender, and Perfectly Buttery Homemade Crust for Any Pie

Table of Contents
Summary
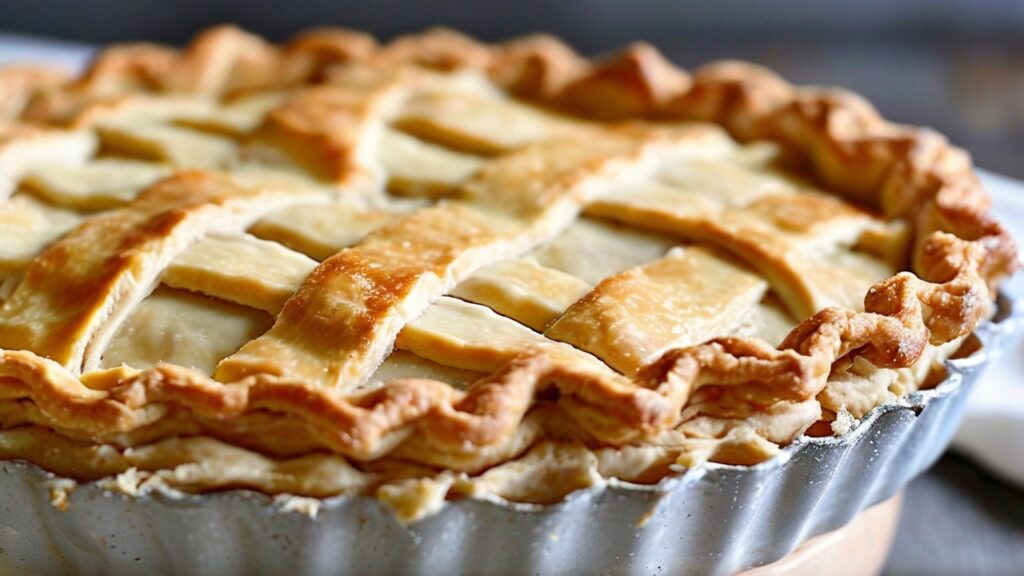
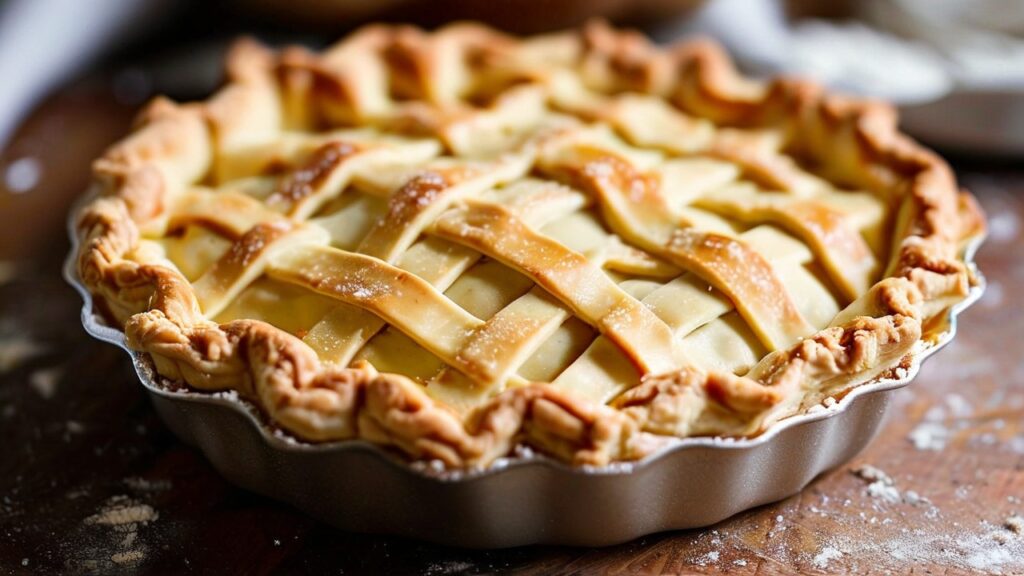
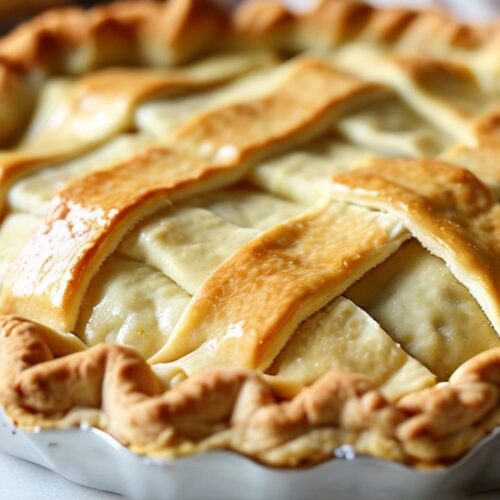
When it comes to making the perfect pie, a flaky, tender, and flavorful pie crust is essential. This Crisco pie crust recipe delivers just that! With its buttery richness and light, flaky texture, this homemade crust is a fantastic base for sweet and savory pies alike. Whether you’re a seasoned baker or a beginner, this step-by-step guide will help you achieve the perfect pie crust every time. Crisco’s vegetable shortening makes this pie crust exceptionally tender, giving it that melt-in-your-mouth texture that makes every pie irresistible. Say goodbye to store-bought crusts and learn how to make your own delicious, golden-brown pie crust at home!
Prep Time: 15 minutes
Cook Time: 10-12 minutes (for pre-baked crust)
Total Time: 25-30 minutes (excluding filling time)
Servings: 1 pie crust (can be doubled for a top and bottom crust)
Calories per Serving: Approximately 220-250 calories (depending on size and thickness)
Courses & Cuisines
- Course: Dessert, Savory
- Cuisine: American
Equipment
To prepare this Crisco pie crust recipe, you’ll need the following kitchen equipment:
- Mixing bowls: A large bowl for mixing the dough and a smaller one for combining the dry ingredients.
- Pastry cutter or fork: For cutting the Crisco into the flour and creating a crumbly texture.
- Rolling pin: For rolling out the dough into the desired thickness.
- Pie plate or pan: To fit the dough into for baking.
- Measuring cups and spoons: For accurate ingredient measurements.
- Plastic wrap or wax paper: To chill the dough and prevent it from drying out.
- Pastry brush: For brushing on an egg wash or butter before baking, if desired.
- Parchment paper: To line the crust when pre-baking and prevent sticking.
Ingredients
- 2 1/2 cups all-purpose flour, spooned and leveled
- 1 cup Crisco vegetable shortening (cold and cut into small cubes)
- 1/2 tsp salt
- 1 tbsp granulated sugar (optional, for sweet pies)
- 6-8 tbsp ice water (or more as needed)
Instructions
Step 1: Prepare the Ingredients
Before you begin, gather all the ingredients and ensure that the Crisco vegetable shortening is cold. For best results, chill the Crisco in the refrigerator for about 30 minutes before starting. Cold shortening helps to create a flakier crust, so don’t skip this step!
Step 2: Combine the Dry Ingredients
In a large mixing bowl, combine the all-purpose flour, salt, and sugar (if using). The salt enhances the flavor, and the sugar adds a slight sweetness to the crust, which is especially useful for fruit pies or sweet fillings.
Step 3: Cut the Crisco into the Flour
Add the cold Crisco cubes to the flour mixture. Using a pastry cutter, fork, or your fingers, cut the Crisco into the flour until the mixture resembles coarse crumbs or pea-sized bits. This process is called “cutting in,” and it helps distribute the fat evenly throughout the flour, creating the flaky layers in the crust. If you don’t have a pastry cutter, a fork or two knives can work just as well. The key is to work quickly so the shortening stays cold.
Step 4: Add the Ice Water
Slowly add ice water, 1 tablespoon at a time, to the flour and shortening mixture. Mix gently with a fork or your hands until the dough begins to come together. You may need 6-8 tablespoons of water, depending on the humidity and the type of flour used. The dough should be moist but not too sticky.
Step 5: Form the Dough and Chill
Once the dough comes together, gather it into a ball and flatten it into a disc. Wrap the dough in plastic wrap or wax paper and refrigerate it for at least 30 minutes to chill. Chilling the dough is crucial, as it helps to relax the gluten in the flour and firms up the fat, resulting in a tender and flaky crust.
Step 6: Roll Out the Dough
After the dough has chilled, remove it from the refrigerator and place it on a lightly floured surface. Using a rolling pin, roll the dough out into a circle, about 1/8-inch thick. Be sure to roll the dough evenly to avoid uneven thickness, which can affect the final texture of the pie crust. You can also lift and turn the dough frequently while rolling to keep it from sticking to the work surface.
Step 7: Transfer the Dough to the Pie Plate
Once the dough is rolled out, carefully transfer it to a 9-inch pie plate. To do this, gently fold the dough in half and then transfer it to the plate. Unfold the dough and press it into the plate, ensuring it fits snugly against the sides. Trim any excess dough, leaving about 1-inch of overhang. You can use the excess dough to make decorative edges or lattice tops if making a double-crust pie.
Step 8: Chill Again
Once the dough is in the pie plate, chill the crust again for 10-15 minutes in the refrigerator. This helps prevent shrinkage during baking and ensures a perfect pie crust.
Step 9: Pre-Bake the Crust (If Needed)
If your recipe calls for a pre-baked pie crust, place a piece of parchment paper or aluminum foil inside the crust and fill it with pie weights, dried beans, or uncooked rice to weigh it down. Bake at 375°F (190°C) for 10-12 minutes, or until the edges are lightly golden. Remove the weights and parchment paper, and continue baking for an additional 5-8 minutes, until the bottom is golden and fully cooked.
Step 10: Fill and Bake (For Full Pie)
Once the crust is prepared, you can fill it with your choice of pie filling. Follow the instructions for your specific pie recipe, and bake the pie as directed. This crust pairs beautifully with fruit fillings, custard pies, savory quiches, and more!

Notes: Tips for the Perfect Crisco Pie Crust
- Chill the Dough: Don’t rush the chilling steps. Chilling the dough before and after rolling out helps to maintain a flaky texture and prevents shrinking during baking.
- Use Cold Ingredients: Ensure that both the shortening and water are cold. Cold fat in the dough is key to creating a flaky texture.
- Avoid Overworking the Dough: Handle the dough as little as possible. Overworking can develop gluten, leading to a tough crust.
- Double the Recipe for a Top and Bottom Crust: If you need a top crust, simply double the ingredients for this recipe.
- Freezing the Dough: If you’re not using the dough immediately, you can freeze it for up to 3 months. Wrap it tightly in plastic wrap and foil, then thaw overnight in the refrigerator before rolling it out.
- Pie Weights: Use pie weights or dried beans to prevent the crust from puffing up when pre-baking. If you don’t have pie weights, you can use any heavy object that will keep the dough in place.
Conclusion: Why This Crisco Pie Crust Recipe is a Game-Changer
This Crisco pie crust recipe is a must-try for anyone who loves a perfectly flaky, tender, and buttery pie crust. Whether you’re making a classic apple pie, a savory quiche, or a decadent cream pie, this versatile crust serves as the ideal foundation for any filling. Crisco’s vegetable shortening ensures that the dough remains easy to handle and produces the kind of flaky texture that you’ll savor with every bite.
So next time you’re craving a homemade pie, skip the store-bought crusts and create your own delicious, melt-in-your-mouth masterpiece with this Crisco pie crust recipe.
For more amazing pie recipes, check out our best apple pie recipe.

Crisco Pie Crust Recipe: Flaky, Tender, and Perfectly Buttery Homemade Crust for Any Pie
Equipment
- To prepare this Crisco pie crust recipe, you’ll need the following kitchen equipment:
- Mixing bowls: A large bowl for mixing the dough and a smaller one for combining the dry ingredients.
- Pastry cutter or fork: For cutting the Crisco into the flour and creating a crumbly texture.
- Rolling pin: For rolling out the dough into the desired thickness.
- Pie plate or pan: To fit the dough into for baking.
- Measuring cups and spoons: For accurate ingredient measurements.
- Plastic wrap or wax paper: To chill the dough and prevent it from drying out.
- Pastry brush: For brushing on an egg wash or butter before baking, if desired.
- Parchment paper: To line the crust when pre-baking and prevent sticking.
Ingredients
- 2 1/2 cups all-purpose flour spooned and leveled
- 1 cup Crisco vegetable shortening cold and cut into small cubes
- 1/2 tsp salt
- 1 tbsp granulated sugar optional, for sweet pies
- 6-8 tbsp ice water or more as needed
Instructions
- Step 1: Prepare the Ingredients
- Before you begin, gather all the ingredients and ensure that the Crisco vegetable shortening is cold. For best results, chill the Crisco in the refrigerator for about 30 minutes before starting. Cold shortening helps to create a flakier crust, so don’t skip this step!
- Step 2: Combine the Dry Ingredients
- In a large mixing bowl, combine the all-purpose flour, salt, and sugar (if using). The salt enhances the flavor, and the sugar adds a slight sweetness to the crust, which is especially useful for fruit pies or sweet fillings.
- Step 3: Cut the Crisco into the Flour
- Add the cold Crisco cubes to the flour mixture. Using a pastry cutter, fork, or your fingers, cut the Crisco into the flour until the mixture resembles coarse crumbs or pea-sized bits. This process is called “cutting in,” and it helps distribute the fat evenly throughout the flour, creating the flaky layers in the crust. If you don’t have a pastry cutter, a fork or two knives can work just as well. The key is to work quickly so the shortening stays cold.
- Step 4: Add the Ice Water
- Slowly add ice water, 1 tablespoon at a time, to the flour and shortening mixture. Mix gently with a fork or your hands until the dough begins to come together. You may need 6-8 tablespoons of water, depending on the humidity and the type of flour used. The dough should be moist but not too sticky.
- Step 5: Form the Dough and Chill
- Once the dough comes together, gather it into a ball and flatten it into a disc. Wrap the dough in plastic wrap or wax paper and refrigerate it for at least 30 minutes to chill. Chilling the dough is crucial, as it helps to relax the gluten in the flour and firms up the fat, resulting in a tender and flaky crust.
- Step 6: Roll Out the Dough
- After the dough has chilled, remove it from the refrigerator and place it on a lightly floured surface. Using a rolling pin, roll the dough out into a circle, about 1/8-inch thick. Be sure to roll the dough evenly to avoid uneven thickness, which can affect the final texture of the pie crust. You can also lift and turn the dough frequently while rolling to keep it from sticking to the work surface.
- Step 7: Transfer the Dough to the Pie Plate
- Once the dough is rolled out, carefully transfer it to a 9-inch pie plate. To do this, gently fold the dough in half and then transfer it to the plate. Unfold the dough and press it into the plate, ensuring it fits snugly against the sides. Trim any excess dough, leaving about 1-inch of overhang. You can use the excess dough to make decorative edges or lattice tops if making a double-crust pie.
- Step 8: Chill Again
- Once the dough is in the pie plate, chill the crust again for 10-15 minutes in the refrigerator. This helps prevent shrinkage during baking and ensures a perfect pie crust.
- Step 9: Pre-Bake the Crust (If Needed)
- If your recipe calls for a pre-baked pie crust, place a piece of parchment paper or aluminum foil inside the crust and fill it with pie weights, dried beans, or uncooked rice to weigh it down. Bake at 375°F (190°C) for 10-12 minutes, or until the edges are lightly golden. Remove the weights and parchment paper, and continue baking for an additional 5-8 minutes, until the bottom is golden and fully cooked.
- Step 10: Fill and Bake (For Full Pie)
- Once the crust is prepared, you can fill it with your choice of pie filling. Follow the instructions for your specific pie recipe, and bake the pie as directed. This crust pairs beautifully with fruit fillings, custard pies, savory quiches, and more!
Notes
Use Cold Ingredients: Ensure that both the shortening and water are cold. Cold fat in the dough is key to creating a flaky texture.
Avoid Overw

