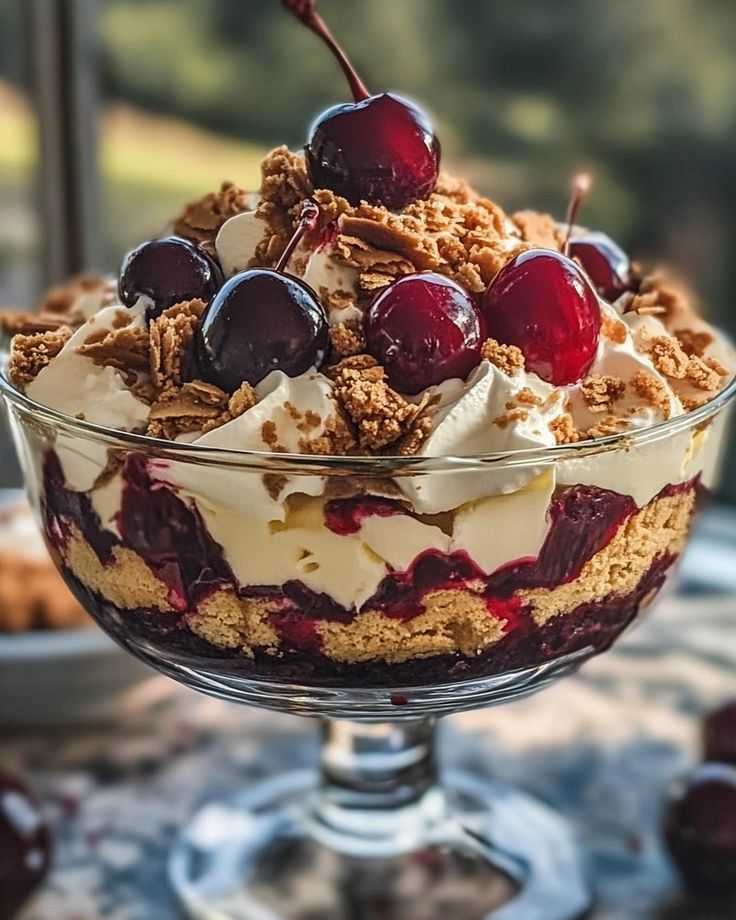
The Ultimate Indulgent Dessert
This show-stopping Chocolate Chip Cookie Dough Ice Cream Cake combines all your favorite dessert elements into one spectacular treat. With layers of chewy chocolate chip cookies, creamy vanilla ice cream studded with edible cookie dough chunks, and a rich chocolate ganache topping, it’s the perfect centerpiece for any celebration.
What Makes This Cake Special
This isn’t just ice cream between cookies – it’s a carefully constructed dessert with multiple textures and flavors that work in harmony. The cookie base provides structure and chewiness, the ice cream layer offers cool creaminess, the cookie dough pieces add delightful chunks of sweetness, and the ganache brings everything together with rich chocolate luxury.
Components Overview
- Cookie Base: Chewy chocolate chip cookies that serve as the foundation
- Ice Cream Layer: Creamy vanilla ice cream with cookie dough chunks
- Cookie Dough: Safe-to-eat edible cookie dough pieces
- Chocolate Ganache: Rich, glossy topping that sets perfectly
- Decorative Elements: Additional cookies, chocolate chips, and whipped cream
Ingredients
For the Cookie Base:
- 2 1/4 cups all-purpose flour
- 1 teaspoon baking soda
- 1/2 teaspoon salt
- 1 cup unsalted butter, softened
- 3/4 cup granulated sugar
- 3/4 cup packed brown sugar
- 2 large eggs
- 2 teaspoons vanilla extract
- 2 cups chocolate chips
For the Edible Cookie Dough:
- 1 cup all-purpose flour (heat-treated)
- 1/2 cup unsalted butter, softened
- 1/2 cup packed brown sugar
- 1/4 cup granulated sugar
- 2 tablespoons milk
- 1 teaspoon vanilla extract
- 1/2 teaspoon salt
- 1/2 cup mini chocolate chips
For the Ice Cream Layer:
- 2 quarts high-quality vanilla ice cream
- OR homemade vanilla ice cream (recipe below)
For Homemade Vanilla Ice Cream:
- 2 cups heavy cream
- 1 cup whole milk
- 3/4 cup granulated sugar
- 6 large egg yolks
- 2 teaspoons vanilla extract
- 1/4 teaspoon salt
For the Chocolate Ganache:
- 8 oz dark chocolate, finely chopped
- 1 cup heavy cream
- 2 tablespoons unsalted butter
- 1 tablespoon corn syrup
- 1/4 teaspoon salt
For Assembly and Decoration:
- 1 cup heavy cream
- 2 tablespoons powdered sugar
- Extra chocolate chips
- Mini chocolate chip cookies
- Chocolate shavings
Equipment Needed
- 9-inch springform pan
- Large mixing bowls
- Electric mixer (stand or hand)
- Ice cream maker (if making homemade)
- Cookie sheets
- Parchment paper
- Rubber spatula
- Offset spatula
- Wire cooling rack
- Plastic wrap
- Sharp knife
Step-by-Step Instructions
Step 1: Heat-Treat Flour for Cookie Dough
- Preheat Oven: Heat oven to 350°F (175°C).
- Spread Flour: Spread 1 cup flour on a baking sheet.
- Bake: Bake for 5 minutes to kill any bacteria.
- Cool: Let cool completely before using in cookie dough.
Step 2: Make the Cookie Base
- Mix Dry Ingredients: In a bowl, whisk together flour, baking soda, and salt.
- Cream Butter and Sugars: Beat butter with both sugars until light and fluffy (3-4 minutes).
- Add Eggs: Beat in eggs one at a time, then vanilla extract.
- Combine: Gradually mix in flour mixture until just combined.
- Add Chips: Fold in chocolate chips.
- Shape: Press 2/3 of dough into bottom of greased springform pan.
- Bake: Bake 18-20 minutes until golden brown but still soft.
- Cool: Cool completely in pan.
- Make Cookies: Form remaining dough into cookies and bake for remaining dough.
Step 3: Prepare Edible Cookie Dough
- Cream Butter: Beat softened butter until light.
- Add Sugars: Beat in both sugars until combined.
- Add Liquids: Mix in milk and vanilla.
- Add Flour: Mix in heat-treated flour and salt until dough forms.
- Add Chips: Fold in mini chocolate chips.
- Chill: Refrigerate for 30 minutes.
- Form Chunks: Break into small, bite-sized pieces.
Step 4: Make Ice Cream (If Making Homemade)
- Heat Cream Base: Heat cream, milk, and half the sugar until steaming.
- Whisk Yolks: Whisk egg yolks with remaining sugar until pale.
- Temper: Gradually add hot cream to yolks, whisking constantly.
- Cook: Return to pan and cook until mixture coats spoon (170°F).
- Strain: Strain and add vanilla and salt.
- Chill: Cool completely, then churn in ice cream maker.
- Add Dough: Fold in cookie dough pieces during last 5 minutes of churning.
Step 5: Prepare Store-Bought Ice Cream
- Soften: Let ice cream soften at room temperature for 10-15 minutes.
- Mix: Fold in prepared cookie dough chunks.
- Refreeze: Return to freezer for 30 minutes to firm up slightly.
Step 6: Assemble the Cake
- Layer Ice Cream: Spread softened ice cream mixture over cooled cookie base.
- Smooth Top: Use offset spatula to create even layer.
- Freeze: Freeze for at least 4 hours until firm.
Step 7: Make Chocolate Ganache
- Heat Cream: Heat cream in saucepan until just simmering.
- Add Chocolate: Pour over chopped chocolate in bowl.
- Wait: Let sit 2 minutes without stirring.
- Whisk: Whisk until smooth and glossy.
- Add Butter: Whisk in butter, corn syrup, and salt.
- Cool: Let cool 10 minutes until slightly thickened.
Step 8: Final Assembly
- Add Ganache: Pour ganache over frozen ice cream layer.
- Spread: Use spatula to spread evenly to edges.
- Freeze: Freeze 2 hours until ganache is set.
- Whip Cream: Whip cream with powdered sugar to soft peaks.
- Decorate: Pipe whipped cream rosettes around edge.
- Garnish: Add chocolate chips, mini cookies, and chocolate shavings.
Pro Tips for Success
Cookie Base Tips:
- Don’t Overbake: Cookies should be golden but still soft for best texture
- Even Pressing: Press dough evenly for uniform thickness
- Cool Completely: Prevents ice cream from melting during assembly
Ice Cream Tips:
- Perfect Consistency: Ice cream should be soft enough to spread but not melting
- Even Distribution: Spread ice cream evenly to avoid thick/thin spots
- Cookie Dough Size: Keep pieces small enough to cut through easily
Ganache Tips:
- Right Temperature: Ganache should be pourable but not hot
- Smooth Finish: Pour in center and let flow to edges for smoothest top
- Set Time: Allow proper freezing time for clean slicing
Flavor Variations
Cookie Variations:
- Double Chocolate: Use chocolate cookie base with white chocolate chips
- Oatmeal Raisin: Oatmeal cookie base with cinnamon ice cream
- Peanut Butter: Peanut butter cookies with peanut butter ice cream
- Snickerdoodle: Cinnamon sugar cookies with vanilla ice cream
Ice Cream Variations:
- Mint Chip: Mint ice cream with chocolate cookie dough
- Strawberry: Strawberry ice cream with sugar cookie dough
- Coffee: Coffee ice cream with chocolate chip cookie dough
- Caramel: Caramel ice cream with salted caramel cookie dough
Ganache Alternatives:
- Caramel Sauce: Rich caramel instead of chocolate ganache
- Peanut Butter Glaze: Peanut butter ganache for nutty flavor
- White Chocolate: White chocolate ganache for elegant look
- Fruit Coulis: Berry coulis for fresher flavor
Serving and Storage
Serving Instructions:
- Remove from Freezer: Take out 10-15 minutes before serving
- Warm Knife: Dip knife in warm water between cuts
- Clean Cuts: Wipe knife clean after each slice
- Proper Portions: Cut into 12-16 slices depending on richness desired
Storage Guidelines:
- Freezer Storage: Up to 2 weeks wrapped in plastic
- Covering: Press plastic wrap directly onto surface
- Container: Store in airtight container if possible
- Serving Prep: Always let soften slightly before serving
Nutritional Information
Per Slice (1/12 of cake):
- Calories: Approximately 520-580
- Fat: 28-32g
- Carbs: 65-75g
- Protein: 8-10g
- Sugar: 45-55g
Healthier Modifications:
- Reduced Sugar: Use sugar substitutes in cookie dough
- Lighter Ice Cream: Use frozen yogurt or light ice cream
- Smaller Portions: Cut into 16 pieces instead of 12
- Fruit Addition: Add berries to lighten the richness
Troubleshooting Common Issues
Cookie Base Problems:
- Too Hard: Didn’t cool properly or overbaked
- Cracking: Oven temperature too high
- Uneven: Dough not pressed evenly
Ice Cream Issues:
- Too Soft: Not frozen long enough or too warm when assembled
- Icy Texture: Temperature fluctuations during freezing
- Uneven Layer: Ice cream consistency wrong when spreading
Ganache Problems:
- Too Thick: Cream wasn’t hot enough or chocolate seized
- Won’t Set: Not frozen long enough or ganache too thin
- Cracks: Applied when too cold or ganache too thick
Special Occasion Adaptations
Birthday Parties:
- Candle Placement: Insert candles through ganache layer
- Personalization: Write messages with melted chocolate
- Individual Portions: Make mini versions in cupcake pans
Holiday Variations:
- Christmas: Add peppermint extract and crushed candy canes
- Halloween: Orange-colored ice cream with chocolate cookie base
- Valentine’s Day: Heart-shaped cookie pieces and pink decorations
Advanced Techniques
Layered Variations:
- Multiple Ice Cream Layers: Alternate different flavors
- Cookie Crumb Layers: Add crushed cookies between layers
- Sauce Swirls: Marble caramel or fudge through ice cream
Professional Presentation:
- Smooth Sides: Use acetate strips for perfectly smooth sides
- Geometric Decorations: Create patterns with ganache drizzles
- Textured Tops: Use combs or forks for interesting textures
Make-Ahead Strategy
Timeline for Success:
- 3 Days Before: Make and freeze cookie base
- 2 Days Before: Make cookie dough and ice cream layer
- 1 Day Before: Add ganache and freeze overnight
- Day of: Add final decorations and let soften before serving
Component Prep:
- Cookie Dough: Can be made 1 week ahead and frozen
- Ice Cream: Homemade base can be made 3 days ahead
- Ganache: Can be made 2 days ahead and gently rewarmed
Final Success Tips
The key to an amazing Chocolate Chip Cookie Dough Ice Cream Cake is patience and timing. Each component needs adequate time to set properly, and rushing the process will result in a messy, unstable cake. The payoff for taking your time is a professional-looking dessert that’s absolutely delicious.
Remember that this cake is rich and indulgent – a little goes a long way. The combination of textures and flavors creates a truly special dessert that’s perfect for celebrations or whenever you want to create something memorable.
Don’t be afraid to customize it to your preferences. The basic technique can be adapted to countless flavor combinations, making it a versatile recipe that you can use for many different occasions. The most important thing is to have fun with the process and enjoy the amazing results!


