Irresistibly Easy Homemade Butterfinger Recipe: Sweet Nostalgia in Every Bite!

Table of Contents
If you’re a fan of the classic Butterfinger candy bar, get ready to fall in love with this irresistible homemade version. This recipe is packed with bold flavors, easy-to-follow steps, and a nostalgic twist that will wow your taste buds. Say goodbye to store-bought bars and hello to a fun DIY treat that’s perfect for any occasion.
Summary
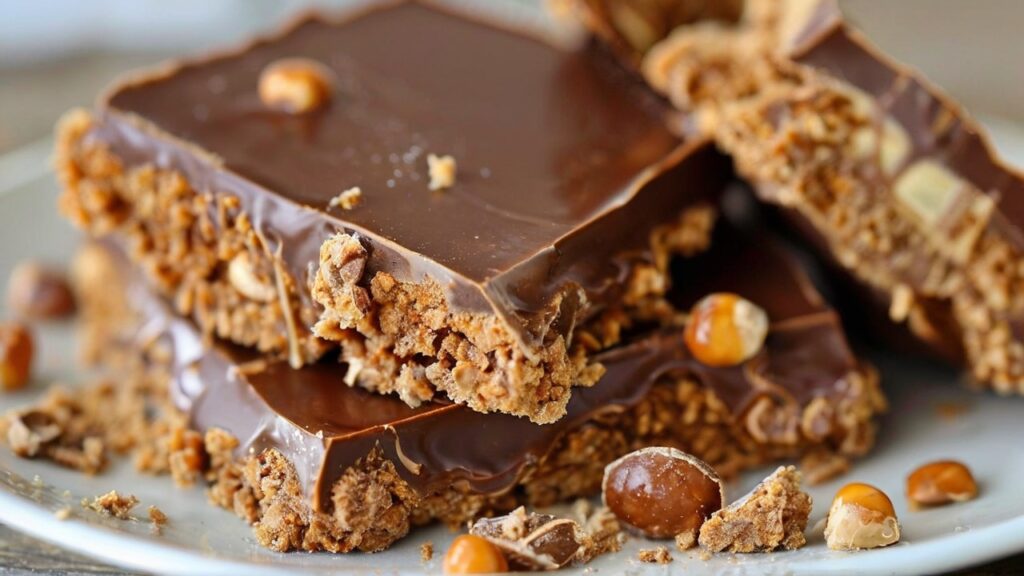
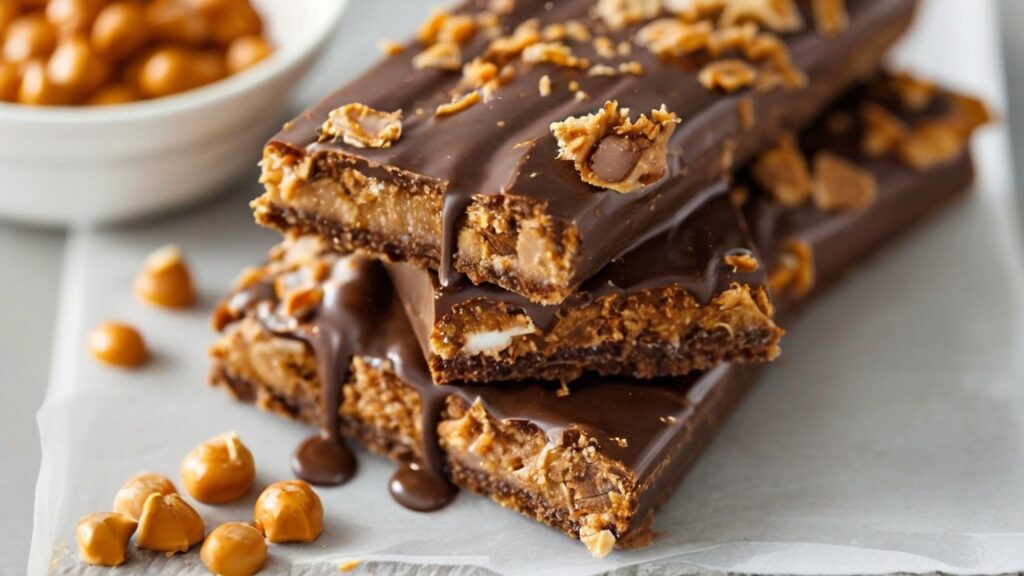
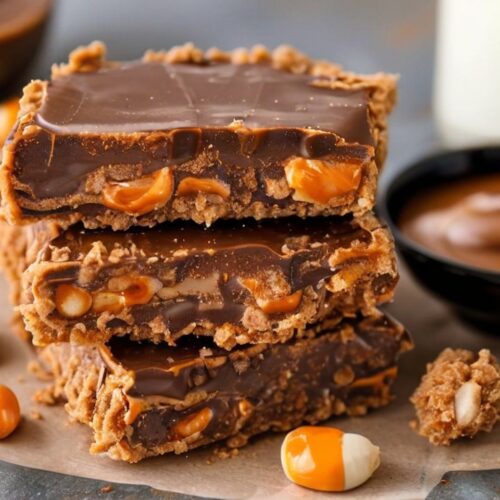
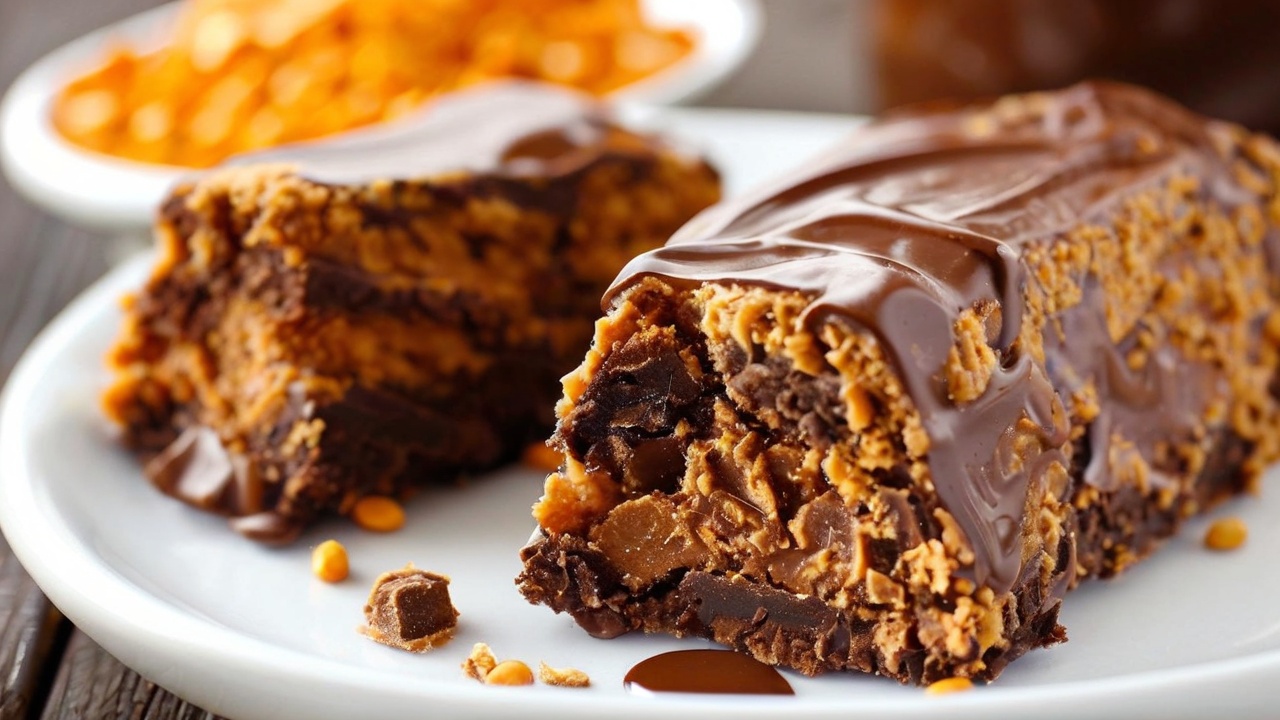
Recreate the beloved Butterfinger candy bar with this simple and satisfying recipe. Featuring crispy layers of peanut buttery goodness coated in rich chocolate, this homemade Butterfinger is a deliciously sweet indulgence you’ll adore.
- Prep Time: 10 minutes
- Cook Time: 15 minutes
- Total Time: 25 minutes (plus cooling time)
- Servings: 12 bars
- Calories: Approximately 220 per bar
Course: Dessert
Cuisine: American
Equipment Needed:
- Medium saucepan
- Candy thermometer
- Mixing spoon
- Baking sheet
- Parchment paper
- Microwave-safe bowl or double boiler
- Sharp knife
Ingredients:
For the Butterfinger Base:
- 1 cup granulated sugar
- 1/3 cup light corn syrup
- 1/4 cup water
- 1 cup creamy peanut butter
- 1 teaspoon vanilla extract
For the Chocolate Coating:
- 2 cups semi-sweet or milk chocolate chips
- 1 tablespoon coconut oil or shortening (optional, for smoother coating)
Instructions:
Step 1: Prepare Your Workspace
- Line a baking sheet with parchment paper and set it aside.
- Have your candy thermometer ready and ensure all ingredients are pre-measured for efficiency.
Step 2: Make the Sugar Syrup
- In a medium saucepan, combine granulated sugar, corn syrup, and water.
- Heat over medium-high heat, stirring occasionally until the sugar dissolves.
- Attach your candy thermometer to the saucepan, ensuring the tip does not touch the bottom.
- Continue to cook the mixture without stirring until it reaches 300°F (hard crack stage).
Step 3: Incorporate the Peanut Butter
- Once the sugar syrup reaches 300°F, remove it from the heat immediately.
- Quickly stir in the peanut butter and vanilla extract. Be cautious as the mixture will be extremely hot.
- Stir until smooth and well combined.
Step 4: Shape the Butterfinger Base
- Pour the mixture onto the prepared baking sheet.
- Use a spatula to spread it into an even layer, about 1/4 inch thick.
- Allow the candy to cool and harden completely (approximately 20-30 minutes).
Step 5: Cut into Bars
- Once hardened, use a sharp knife to cut the candy into desired bar sizes.
- Place the bars on a clean piece of parchment paper.
Step 6: Melt the Chocolate
- In a microwave-safe bowl, melt the chocolate chips in 30-second intervals, stirring after each, until smooth.
Alternatively, use a double boiler for a more controlled melting process. - Add coconut oil or shortening to the chocolate for a shinier and smoother finish, if desired.
Step 7: Coat the Bars
- Using a fork or dipping tool, coat each candy bar in melted chocolate.
- Gently shake off any excess chocolate and place the coated bars back onto the parchment paper.
Step 8: Set the Chocolate
- Let the bars sit at room temperature or place them in the refrigerator for quicker setting.
- Once the chocolate hardens, your homemade Butterfingers are ready to enjoy!

Recipe Notes:
- Crunchy Texture Tip: The hard crack stage is essential for achieving that signature crispy texture. Use your candy thermometer for accuracy.
- Peanut Butter Options: Feel free to use natural or crunchy peanut butter for a slight variation in texture and flavor.
- Storage: Store the bars in an airtight container at room temperature for up to one week, or refrigerate for longer shelf life.
- Variations: Experiment with dark chocolate for a richer flavor or white chocolate for a unique twist.
Conclusion
Making your own Butterfinger bars at home is a rewarding and delicious adventure! With just a handful of ingredients and a little patience, you can recreate this iconic candy right in your kitchen. Try it today and share the sweet nostalgia with family and friends.
For more classic candy recipes and tips, check out this homemade candy guide. Happy candy-making!

Irresistibly Easy Homemade Butterfinger Recipe: Sweet Nostalgia in Every Bite!
Equipment
- Medium saucepan
- Candy thermometer
- Mixing spoon
- Baking sheet
- Parchment paper
- Microwave-safe bowl or double boiler
- Sharp knife
Ingredients
- For the Butterfinger Base:
- 1 cup granulated sugar
- 1/3 cup light corn syrup
- 1/4 cup water
- 1 cup creamy peanut butter
- 1 teaspoon vanilla extract
- For the Chocolate Coating:
- 2 cups semi-sweet or milk chocolate chips
- 1 tablespoon coconut oil or shortening optional, for smoother coating
Instructions
- Step 1: Prepare Your Workspace
- Line a baking sheet with parchment paper and set it aside.
- Have your candy thermometer ready and ensure all ingredients are pre-measured for efficiency.
- Step 2: Make the Sugar Syrup
- In a medium saucepan, combine granulated sugar, corn syrup, and water.
- Heat over medium-high heat, stirring occasionally until the sugar dissolves.
- Attach your candy thermometer to the saucepan, ensuring the tip does not touch the bottom.
- Continue to cook the mixture without stirring until it reaches 300°F (hard crack stage).
- Step 3: Incorporate the Peanut Butter
- Once the sugar syrup reaches 300°F, remove it from the heat immediately.
- Quickly stir in the peanut butter and vanilla extract. Be cautious as the mixture will be extremely hot.
- Stir until smooth and well combined.
- Step 4: Shape the Butterfinger Base
- Pour the mixture onto the prepared baking sheet.
- Use a spatula to spread it into an even layer, about 1/4 inch thick.
- Allow the candy to cool and harden completely (approximately 20-30 minutes).
- Step 5: Cut into Bars
- Once hardened, use a sharp knife to cut the candy into desired bar sizes.
- Place the bars on a clean piece of parchment paper.
- Step 6: Melt the Chocolate
- In a microwave-safe bowl, melt the chocolate chips in 30-second intervals, stirring after each, until smooth.
- Alternatively, use a double boiler for a more controlled melting process.
- Add coconut oil or shortening to the chocolate for a shinier and smoother finish, if desired.
- Step 7: Coat the Bars
- Using a fork or dipping tool, coat each candy bar in melted chocolate.
- Gently shake off any excess chocolate and place the coated bars back onto the parchment paper.
- Step 8: Set the Chocolate
- Let the bars sit at room temperature or place them in the refrigerator for quicker setting.
- Once the chocolate hardens, your homemade Butterfingers are ready to enjoy!
Notes
Peanut Butter Options: Feel free to use natural or crunchy peanut butter for a slight variation in texture and flavor.
Storage: Store the bars in an airtight container at room temperature for up to one week, or refrigerate for longer shelf life.
Variations: Experiment with dark chocolate for a richer flavor or white chocolate for a unique twist.

