Irresistible Chewy Mochi Cake Recipe (Gluten-Free Delight You’ll Love!)

Table of Contents
Summary
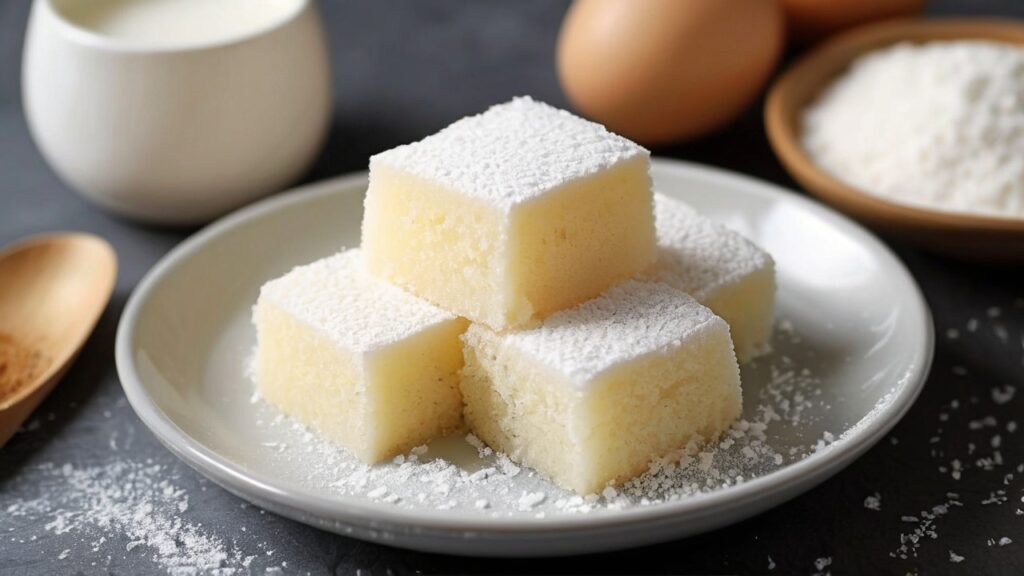
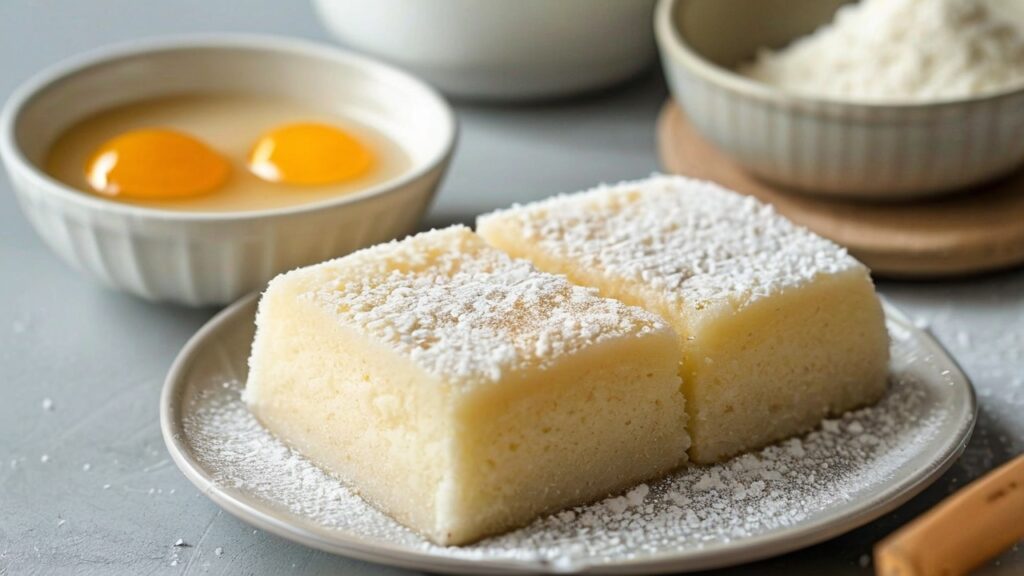
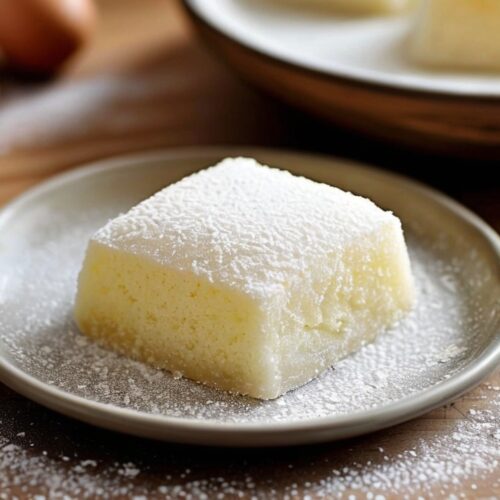
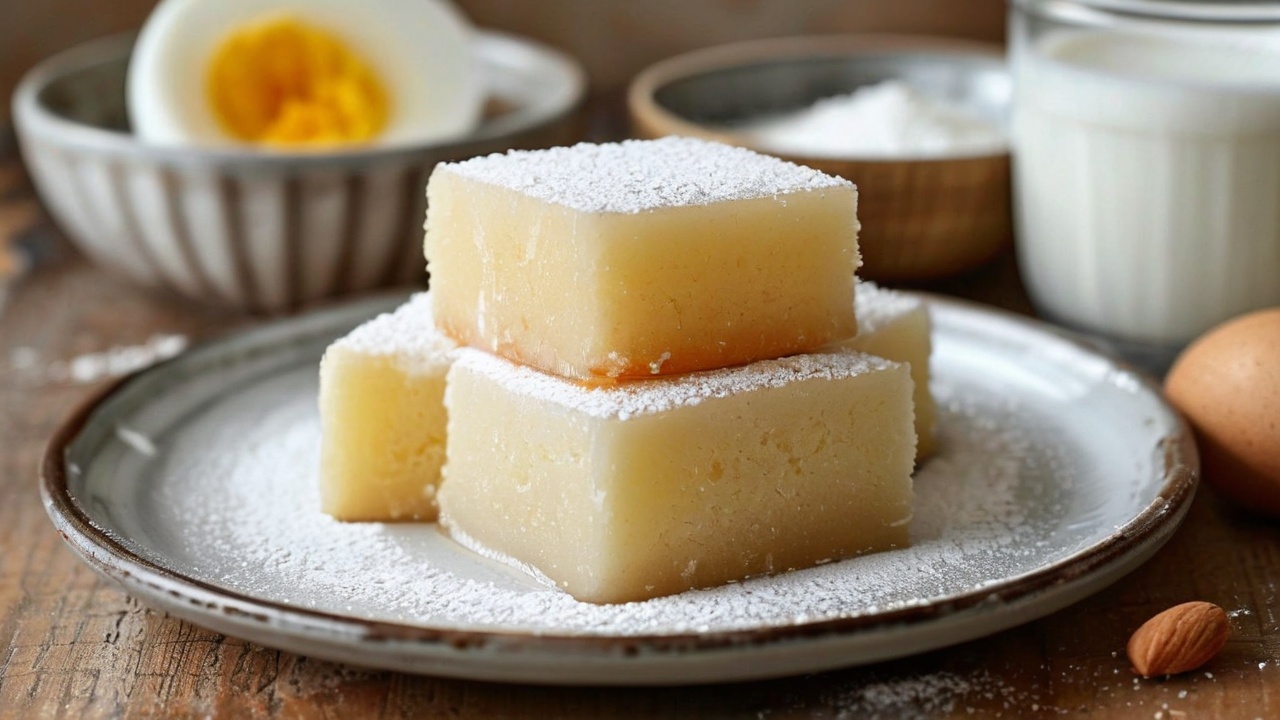
If you’re searching for a unique dessert experience that’s chewy, sweet, and absolutely irresistible, this Mochi Cake recipe is for you! With a pleasantly bouncy texture and just the right hint of sweetness, this gluten-free treat combines traditional Japanese flavors with a modern twist. Perfect for parties, gatherings, or just to satisfy your sweet tooth, this easy-to-follow Mochi Cake Recipe will be a new favorite in your dessert repertoire.
Recipe Information
- Prep Time: 15 minutes
- Cook Time: 1 hour
- Total Time: 1 hour 15 minutes
- Servings: 16 squares
- Calories: 160 calories per serving
- Course: Dessert
- Cuisine: Japanese, Fusion
Equipment
- Large mixing bowl
- Medium mixing bowl
- Whisk
- Spatula
- Measuring cups and spoons
- 9×13 inch baking pan
- Parchment paper (optional)
Ingredients
- 2 cups of Mochiko (Sweet Rice Flour)
- 1 cup of granulated sugar
- 1 teaspoon of baking powder
- 1/4 teaspoon of salt
- 1 can (13.5 ounces) of coconut milk (full fat)
- 1/2 cup of whole milk (or substitute with almond milk for a dairy-free version)
- 3 large eggs
- 1/2 cup of melted butter (unsalted)
- 1 teaspoon of vanilla extract
- Optional toppings: toasted sesame seeds or shredded coconut
Instructions
- Prepare the Oven and Baking Pan
Begin by preheating your oven to 350°F (175°C). This temperature ensures the cake bakes evenly and develops the perfect golden-brown crust. Meanwhile, prepare a 9×13 inch baking pan by greasing it thoroughly with butter or a non-stick cooking spray. For easier removal of the cake, you may also line the pan with parchment paper, leaving a bit of overhang on the edges to lift the cake out once it cools. - Mix Dry Ingredients
In a large mixing bowl, add the 2 cups of Mochiko flour, 1 cup of granulated sugar, 1 teaspoon of baking powder, and 1/4 teaspoon of salt. These dry ingredients are essential for building the cake’s structure and sweetness. Using a whisk, stir these ingredients thoroughly to make sure they are well combined, with no lumps or clumps. This step is important as it ensures the baking powder is evenly distributed, which will help the cake rise evenly in the oven. - Blend Wet Ingredients
In a separate medium-sized bowl, crack 3 large eggs and whisk them until they are fully combined and slightly frothy. This initial whisking will help incorporate air into the batter, contributing to a lighter texture. Next, pour in the 13.5-ounce can of coconut milk, followed by 1/2 cup of whole milk, 1/2 cup of melted butter, and 1 teaspoon of vanilla extract. Whisk everything together until the mixture is smooth and well-blended. Ensure the butter is melted but not too hot, as overly hot butter can cook the eggs prematurely. Mixing these ingredients separately ensures the eggs and milk are fully incorporated and will combine more smoothly with the dry ingredients. - Combine the Wet and Dry Mixtures
Slowly pour the wet ingredients into the bowl with the dry ingredients. It’s best to add the wet ingredients in batches, stirring gently with a spatula after each addition. This gradual mixing process helps prevent clumps and ensures the batter has an even consistency. Use a folding motion to mix; press the spatula down and sweep it along the bottom and sides of the bowl, then lift and fold the batter over itself. Continue folding until there are no visible clumps of dry flour. Be careful not to overmix, as this can affect the texture of the cake, making it too dense. - Pour and Spread the Batter
Pour the prepared batter into your greased or parchment-lined baking pan. Use a spatula to spread it evenly, ensuring that the batter reaches all four corners of the pan. A smooth, even layer is key to baking a cake with consistent texture. If you prefer a smooth top, gently tap the pan on your countertop a few times to release any trapped air bubbles. - Bake the Cake
Place the pan on the middle rack of your preheated oven to ensure even heat distribution. Bake for 60 minutes, but start checking for doneness around the 55-minute mark, as oven times can vary. You’ll know the cake is done when the top has a beautiful golden-brown color, and a toothpick inserted into the center comes out clean or with just a few moist crumbs. The cake should be firm and spring back slightly when you press it gently with your finger. - Cool the Cake in the Pan
Once fully baked, remove the cake from the oven and allow it to cool in the pan on a wire rack for at least 20-30 minutes. This cooling time allows the cake’s texture to set and become easier to cut. If you lined the pan with parchment paper, you can lift the cake out carefully by holding the edges of the parchment paper after it has cooled. - Slice and Serve
When the cake has cooled completely, use a sharp knife to slice it into 16 even squares, wiping the blade between cuts if needed to maintain clean edges. For a finishing touch, sprinkle toasted sesame seeds or shredded coconut on top before serving, if desired. These optional toppings add a bit of texture and a delightful pop of flavor that complements the cake’s sweetness. - Storage Instructions
If you have leftovers, place the cake squares in an airtight container. Mochi cake can be stored at room temperature for up to three days or refrigerated for up to five days. For optimal texture, allow refrigerated cake to come to room temperature before serving.
With these detailed instructions, your Mochi Cake will turn out perfectly chewy, sweet, and with that signature golden-brown crust every time!

Notes
- Storage: This Mochi Cake keeps well in an airtight container for up to three days at room temperature or up to five days in the refrigerator.
- Texture Tip: For an extra chewy texture, use full-fat coconut milk. Light coconut milk will result in a softer, less chewy cake.
- Flavor Variations: Add 1 tablespoon of matcha powder for a green tea flavor, or a few drops of almond extract for a nuttier taste.
Conclusion
This Mochi Cake recipe is a unique and delicious addition to your dessert options, with its chewy texture and delightful coconut aroma. Whether you’re familiar with traditional Japanese mochi or trying it for the first time, this gluten-free dessert will surprise you with its simplicity and flavor. Looking for more mochi-inspired treats? Try our Mochi Ice Cream Recipe! Enjoy your baking journey!

Irresistible Chewy Mochi Cake Recipe (Gluten-Free Delight You’ll Love!)
Equipment
- Large mixing bowl
- Medium mixing bowl
- Whisk
- Spatula
- Measuring cups and spoons
- 9×13 inch baking pan
- Parchment paper (optional)
Ingredients
- Large mixing bowl
- Medium mixing bowl
- Whisk
- Spatula
- Measuring cups and spoons
- 9 x13 inch baking pan
- Parchment paper optional
- Ingredients
- 2 cups of Mochiko Sweet Rice Flour
- 1 cup of granulated sugar
- 1 teaspoon of baking powder
- 1/4 teaspoon of salt
- 1 can 13.5 ounces of coconut milk (full fat)
- 1/2 cup of whole milk or substitute with almond milk for a dairy-free version
- 3 large eggs
- 1/2 cup of melted butter unsalted
- 1 teaspoon of vanilla extract
- Optional toppings: toasted sesame seeds or shredded coconut
Instructions
- Preheat & Prepare
- Preheat your oven to 350°F (175°C). Grease a 9×13 inch baking pan or line it with parchment paper for easy removal.
- Mix Dry Ingredients
- In a large mixing bowl, combine the Mochiko flour, sugar, baking powder, and salt. Whisk thoroughly to ensure the baking powder is evenly distributed.
- Blend Wet Ingredients
- In a separate medium bowl, whisk together the coconut milk, whole milk, eggs, melted butter, and vanilla extract until smooth.
- Combine Wet and Dry Ingredients
- Gradually add the wet ingredients into the dry ingredients, using a spatula to gently fold and mix until a smooth batter forms. Ensure no lumps remain, as this will affect the cake’s texture.

