Chicken Brine Recipe: The Secret to Juicy and Flavorful Chicken
Summary:This easy Chicken Brine Recipe will guarantee that your chicken stays tender and juicy, no matter how you cook it. With the right balance of salt, sugar, and flavorful aromatics, you’ll never have dry chicken again! This method is ideal for grilled, roasted, or fried chicken. Learn more about the science of brining from Serious Eats.

Table of Contents
Prep Time: 10 minutes
Cook Time: 10 minutes (to dissolve ingredients)
Brining Time: 2–12 hours (depending on the size of the chicken)
Total Time: 2 hours 20 minutes – 12 hours 20 minutes
Servings: 6 servings
Calories: 50 calories per serving (brine itself is mostly discarded)
Course: Main Course
Cuisine: American
Ingredients:
- 1 gallon (16 cups) water
- 1/2 cup kosher salt
- 1/4 cup brown sugar
- 4 garlic cloves, smashed
- 1 tablespoon black peppercorns
- 2 bay leaves
- 1 tablespoon dried thyme (optional, for herbal notes)
- 1 lemon, quartered (optional, for citrus flavor)
- 2 cups ice cubes (to cool the brine quickly)
Instructions:
- Dissolve the Salt and Sugar:
In a large pot, bring 4 cups of water to a simmer. Add the kosher salt and brown sugar, stirring until fully dissolved. This base is essential for seasoning the chicken deeply. - Add Aromatics:
Once the salt and sugar have dissolved, remove the pot from the heat. Add garlic cloves, black peppercorns, bay leaves, thyme (if using), and lemon quarters. Let the mixture steep for a few minutes to infuse the flavors. - Cool the Brine:
Add the remaining water and ice cubes to the pot to quickly cool down the brine. It’s important that the brine is completely cold before adding the chicken, as warm or hot brine can start cooking the meat prematurely. - Submerge the Chicken:
Place your chicken (whether it’s whole, breasts, or thighs) into a large non-reactive container or resealable plastic bag. Pour the cooled brine over the chicken, ensuring it is fully submerged. Refrigerate for at least 2 hours, up to 12 hours depending on the size of the chicken. For chicken breasts, brine for 2–4 hours; for a whole chicken, brine for 8–12 hours. - Rinse and Pat Dry:
After brining, remove the chicken from the brine and rinse thoroughly under cold water to remove excess salt. Pat the chicken dry with paper towels—this step is critical if you want crispy skin when roasting or grilling. - Cook as Desired:
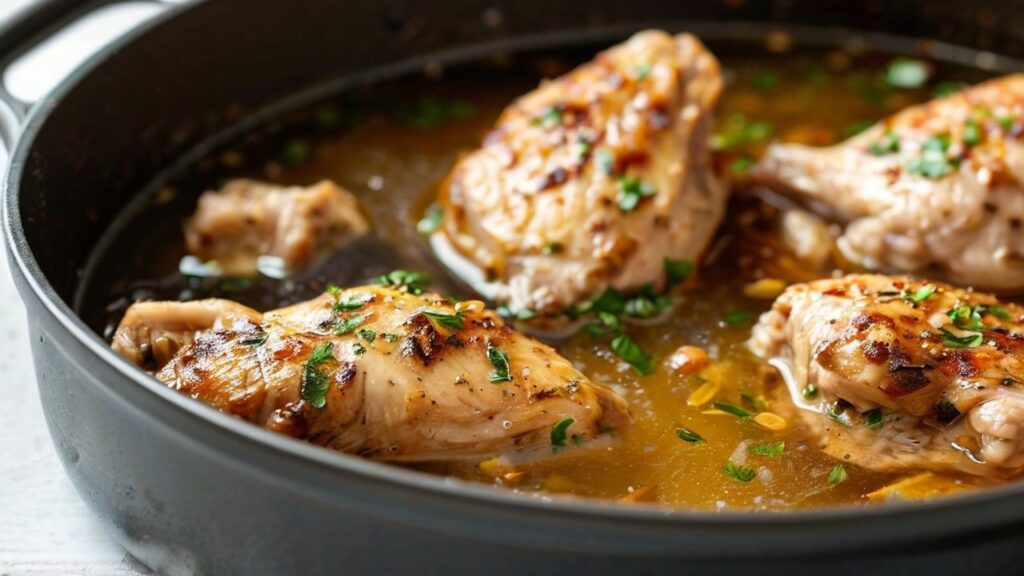
Now your chicken is ready to be cooked! Whether you’re grilling, roasting, or frying, your brined chicken will be juicy and flavorful.

Notes:
- Brining Time: Be cautious of over-brining. Too much time in the brine can result in overly salty chicken. Stick to the recommended times based on the cut of chicken you are using.
- Customization: Feel free to add other aromatics like rosemary, juniper berries, or even a little soy sauce for additional flavor.
- Storage: Brine your chicken in a glass, ceramic, or stainless steel container—never use aluminum, as the salt can react with the metal.
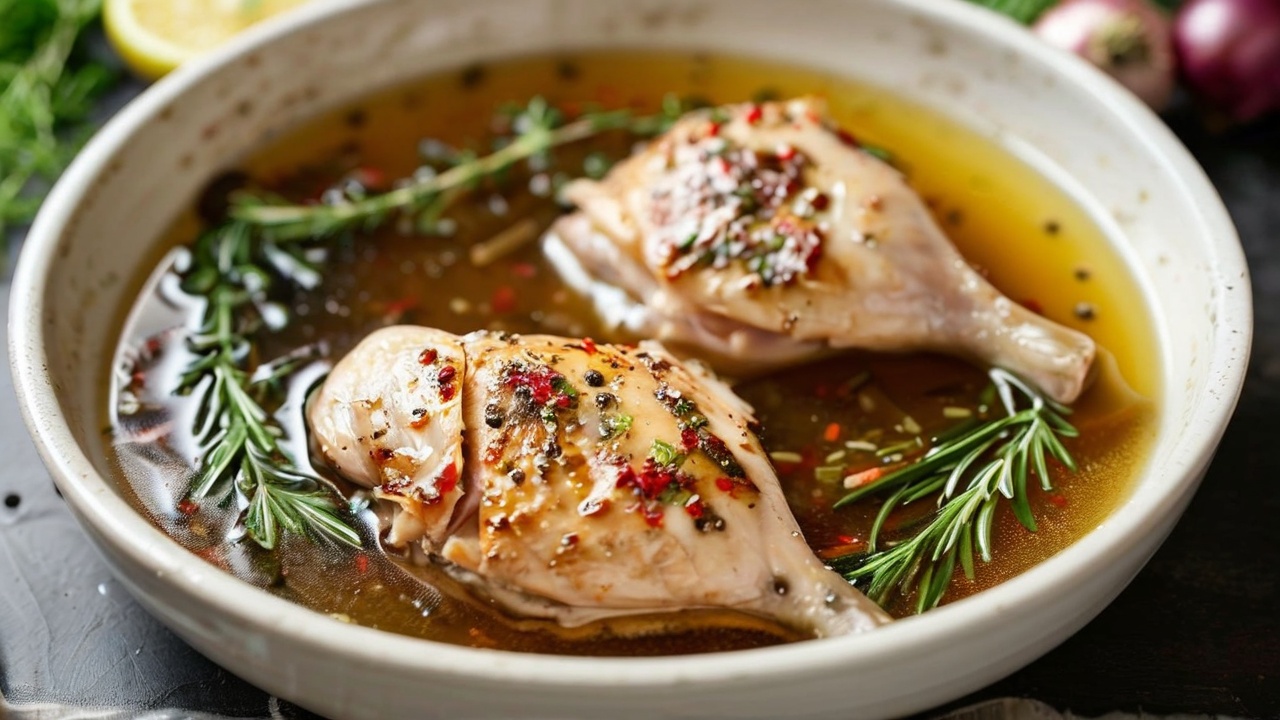
Create a top-down view of a vibrant kitchen setting. The image should showcase a large pot filled with a clear brine, floating garlic cloves, peppercorns, lemon slices, and bay leaves. A raw chicken breast or a whole chicken is submerged in the brine, with some herbs (like thyme or rosemary) arranged aesthetically around the pot. The kitchen background is clean and warm, featuring cutting boards, kitchen utensils, and a rustic wooden counter. The lighting should be natural, soft, and inviting, giving a homely and delicious feel.
This detailed Chicken Brine Recipe is ideal for anyone looking to perfect their chicken dishes, ensuring moist, flavorful results every time!
